

Resolve and Chromakey, a bit hit or miss!
I’ve been using Blackmagic Davinci Resolve for over 18 months now and have not regretted dropping Final Cut Pro once......until now!
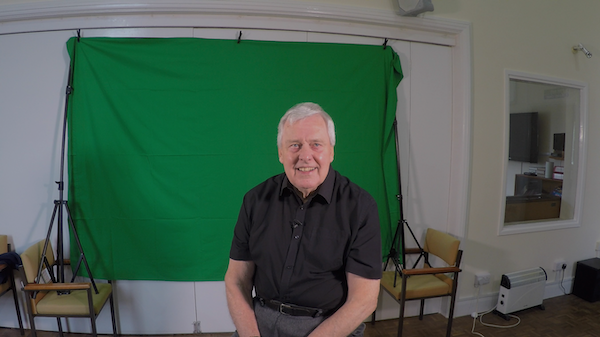
A good friend from my chapel asked me to shoot a piece to camera for him using a green screen, we shot it in the chapel as it had space and good lighting. The shoot went well and Mike did it in one take using the autocue, the second time round.
A good friend from my chapel asked me to shoot a piece to camera for him using a green screen, we shot it in the chapel as it had space and good lighting. The shoot went well and Mike did it in one take using the autocue, the second time round.
Back home with Resolve 18.5 Studio, I dropped the master shot on track 2 and the background shot, a still of the Temple Mount shot by a cameraman friend of Mike on track 1.
Resolve has several methods of keying, the 3D keyer in timeline mode, Chroma key, Delta keyer and Ultimate keyer in the Fusion tab and Chromakey in the colour tab. To start, I went for the 3D keyer in the timeline window, the basic key was a simple matter of using the qualifier, after that I did find it was a bit hit and miss, and a lot of tweaking to clean the edges and get a perfect key. I also tried the Delta keyer in Fusion but I need to spend a lot more time understanding that one!
Before I retired from commercial work and was using FCPX, I bought Hawaiki 3, regarded as one of the best keyers at the time, I upgraded to v4 and had very good success with it on green screen videos. I thought it was worth trying this video for Mike with Hawaiki 4. Dropping the master shot and the background into FCP(X) I applied Hawaiki Keyer 4, in one click it had made the basic key and really no further tweaking was needed!
Deleting the background image and then using the FCPX ‘Share’ button (exporting the video) I used ProRes 4444 to retain the Alpha channel and imported it into Resolve Studio with a clean key, I added the background image back in, added some titles and tweaked the audio, before uploading to YouTube.
So for me, I guess FCP(X) is not dead yet, it’ll live on my system even though I might only use it for green screen work, or until Hawaiki bring out a plugin for Resolve.

Resolve 3D keyer

